I learned about breadmaking as a child, watching grandmothers, great aunts, and my mother. All the women in our family made bread, though some more than others. Basic white breads were a staple, as were hot rolls, cinnamon bread, and later, honey whole wheat bread. The recipe I first learned was a basic white bread, and although there are other recipes I like better, this is the recipe I most often use when I teach someone to make bread for the first time. It’s the most basic of yeast breads, with few variables, so it’s a good way to begin.
This recipe has been floating around the family for decades. I first made Mom’s White Bread from the scribbled ingredients list in my grandmother’s handwriting. That copy of the recipe, written on a page torn from a Sligo Steel promo notepad, rested for many years in my recipe box but is now lost. A more recent copy is preserved in an album of family recipes my mother put together a few years ago. And now, for better or worse, I’m sharing it with you here on the Moo blog.
Mom’s White Bread ingredients:
3 1/2 cups water
1/4 cup sugar
1/4 cup shortening
1 tablespoon salt *
2 packages dry yeast or 4 teaspoons bulk yeast**
1/2 cup warm water
9 1/2 to 10 cups flour
* Cut back to 1 teaspoon if you’re watching your salt intake
** The original recipe states ‘2 packages dry yeast’. You can use instant yeast or whatever packaged yeast is available to you. I buy yeast in bulk and usually toss in a heaped tablespoon of yeast for a ‘2 packages dry yeast’ recipe.
The next step depends on which type of shortening you use. If you use butter, lard, or a solid vegetable shortening like Crisco, then you’ll start with 3 1/2 cups of hot water in a bowl, then add the shortening and sugar. Stir until the shortening is mostly melted and the sugar dissolved and let cool until it’s about body temperature.
If you’re new to breadmaking, make it easy on yourself and use olive oil or a good vegetable oil this time. You can experiment later with butter or lard to see what you like best.
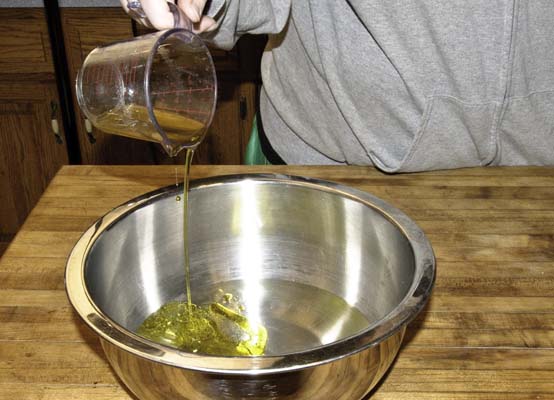
For today’s batch of Mom’s White Bread, I used extra virgin olive oil and added it to the 3 1/2 cups of warm water I’d already measured into the mixing bowl.
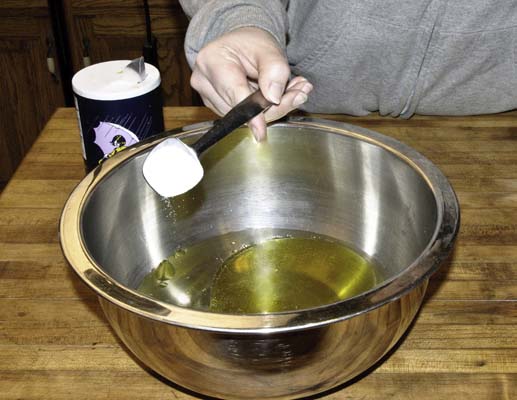
Add 1 tablespoon of salt — and personally speaking, this makes a saltier bread than I like so most of the time I use a lot less. A single teaspoon of salt in this recipe is good enough for me, but for perspective, I’ll confess to a preference of unsalted tortilla chips and even unsalted potato chips.
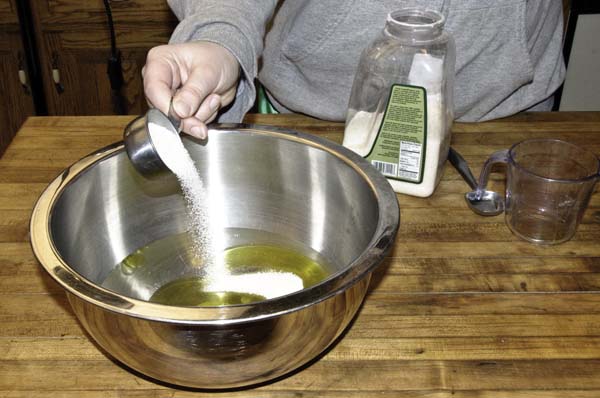
Add 1/2 cup sugar and stir a bit. The sugar doesn’t have to be dissolved, just not clumped together at the bottom of the bowl.
Now get a separate small container and add 1/2 cup warm water. I go by touch and aim for about body temperature or a little warmer. If you’re the precise type, feel free to whip out your thermometer and aim for around 100-105 degrees F. Anything over 120 degrees F is too hot for the yeast.
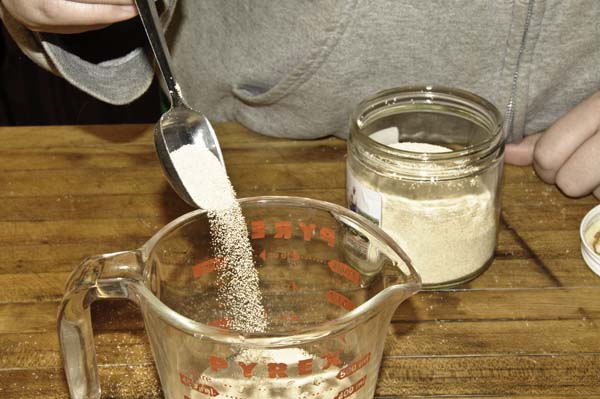
Add your yeast – 2 packages dry yeast or a heaped tablespoon of bulk yeast (4 teaspoons for you precise types out there). Stir until the yeast is dissolved, then set aside.
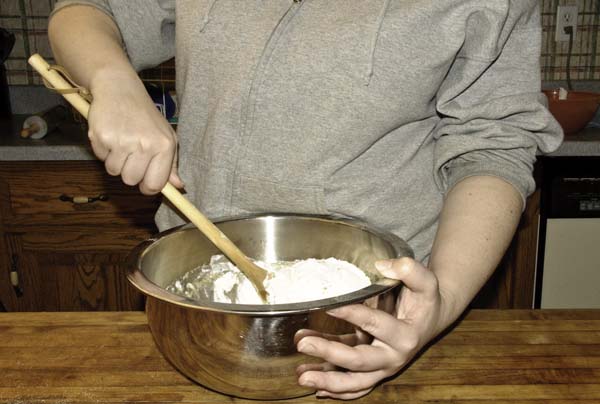
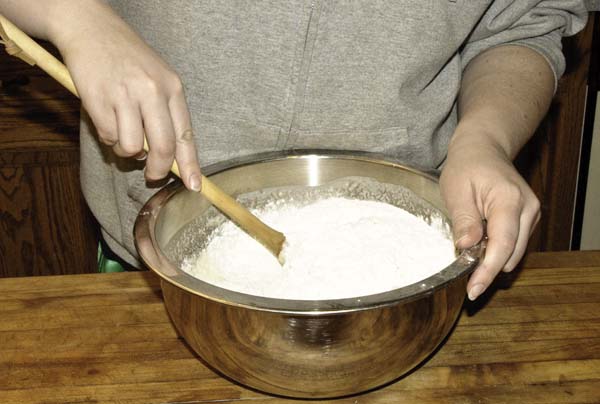
Add four cups flour to your water & shortening mixture and stir with a sturdy spoon. At this point, we’re creating a nice flour buffer for the yeast, which doesn’t like the salt that’s already in that bowl. Yeast and salt together in the bowl are kind of like small children in the car. Salt keeps touching and poking Yeast, and Yeast screams ‘HE’S HURTING ME!’ The salt isn’t powerful enough to kill off the yeast in these quantities if you add the ingredients all at one time per the instructions in many bread machine recipes. Still, today, for peace in your bread bowl and optimum yeast performance, use that flour buffer.
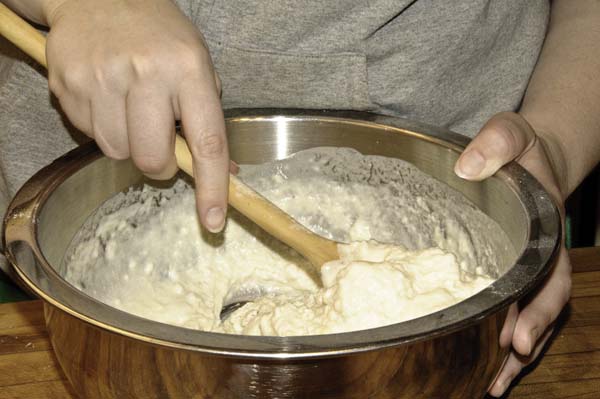
Keep mixing until the ingredients are well mixed. It doesn’t have to be smooth at this point, but it all needs to be the same color with no flour or butter streaks.
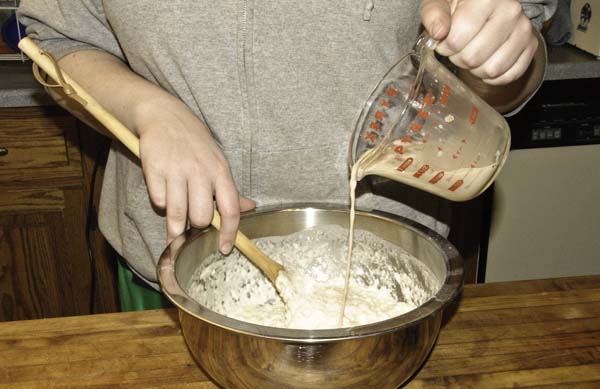
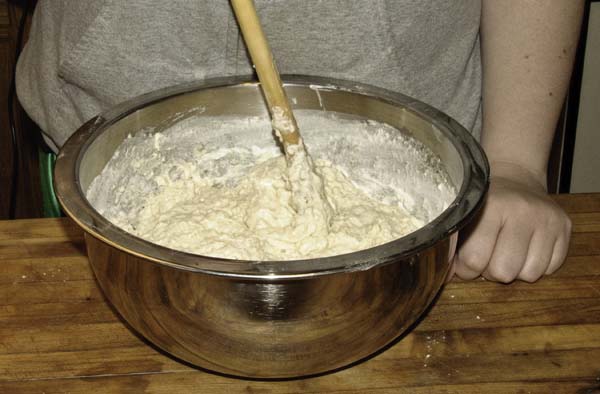
Now add the yeast mixture.
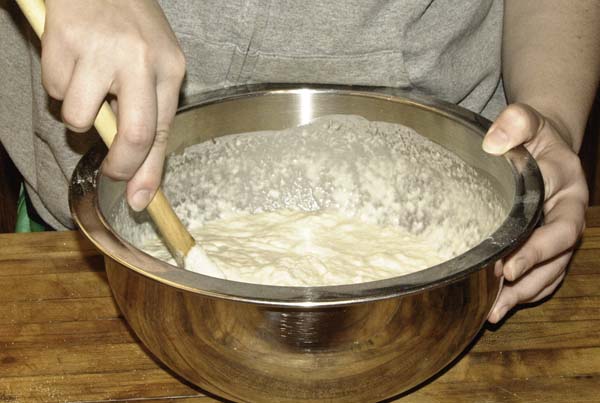
Stir some more and tell yourself it’s fun. The stirring stage should take somewhere between five and fifteen minutes, depending on the strength and vigor of your stirring arm.
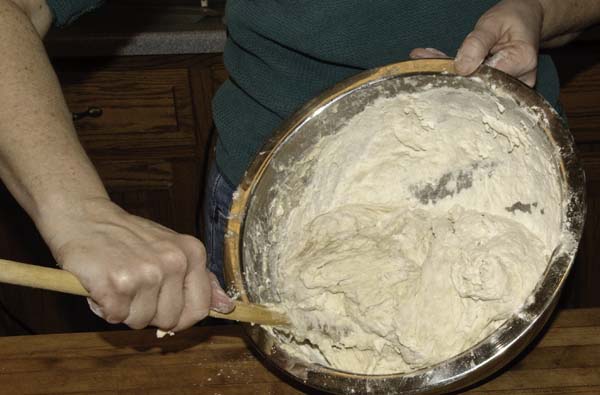
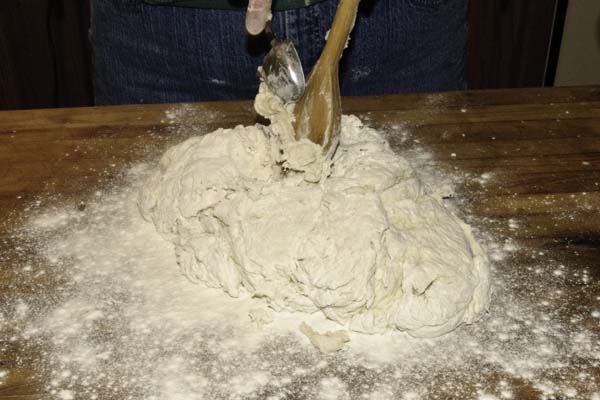
Add two more cups flour and keep stirring. The dough gets stiffer, and you may need to pick up the bowl and brace it with one arm while you work the spoon with the other hand.
Take a break if your arm gets tired. This isn’t a race. Or con somebody else into stirring for a bit.
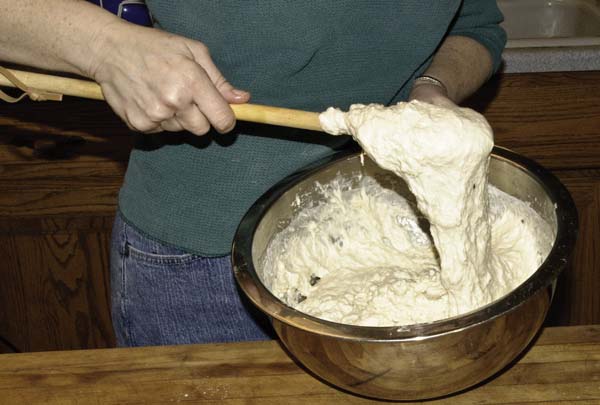
As the gluten in the flour begins to develop, the dough in the bowl will change. It’ll develop more of a stretchy, stringy quality. Continue to add flour in half cup increments and work the flour into the dough.
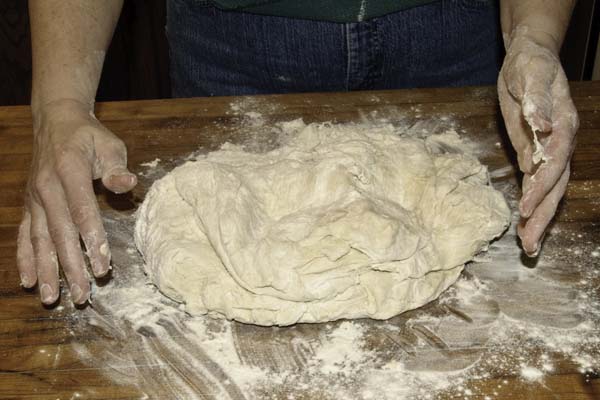
When the dough gets too stiff to work with a spoon, tip the dough out onto a well-floured surface. I’m usually up to 8 or 8 1/2 cups flour total at this point.
It’ll still be very sticky at this point, and you’ll probably need to work in another cup or so of flour while you’re kneading. Add the flour slowly, sprinking it over the working surface so the dough doesn’t stick. You don’t want to add the flour all at once because that tends to create lumpy flour pockets in the sticky dough.
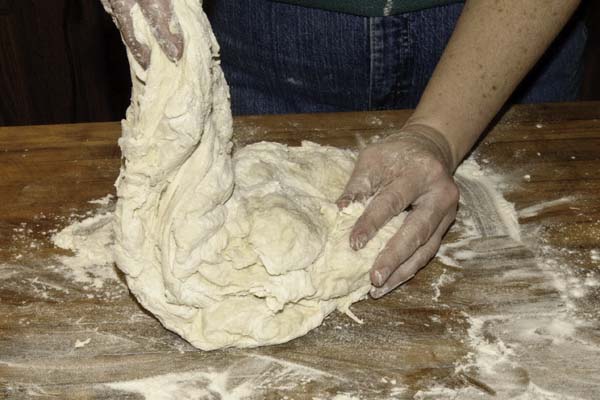
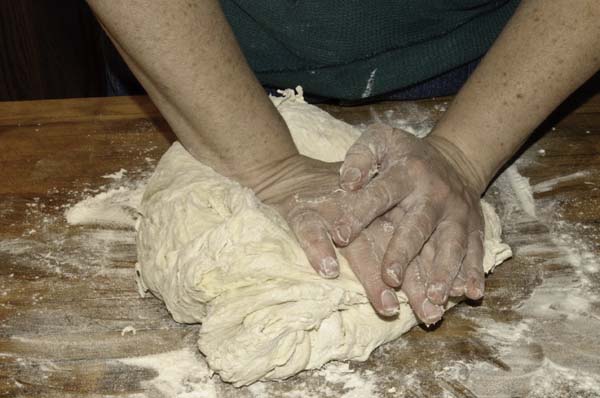
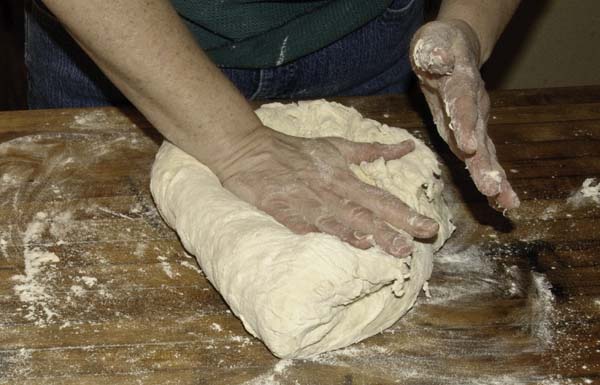
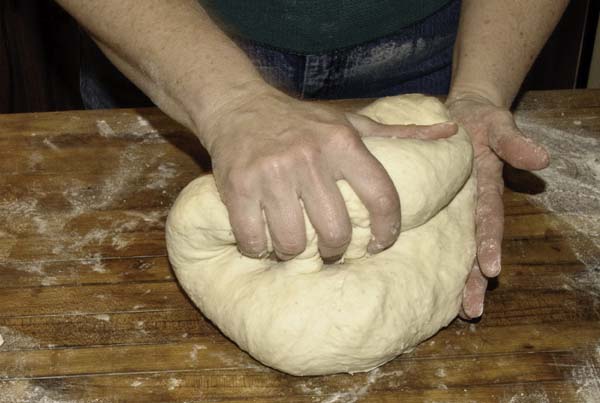
If you’ve kneaded before, you know how it’s done. If you’re new to hand kneading, have no fear. It’s easy, and you’ll quickly find your own rhythm. When I knead, I try to keep my hands well floured. I start by giving the lump of dough a couple of shoves with my flattened hands to spread it out. Then I pick up one edge and fold it over the top of the dough. Shove, flatten, fold it over. Repeat. Repeat. Repeat.
Early on, it can be a sticky, messy process.
As the dough picks up flour, it becomes less sticky. The gluten develops, and you’ll notice changes in the texture. More stretch, less tearing. More smoothness.
I fold from the bottom, then from the left, then bottom, left, and so forth. Except when I don’t. Once I settle into a rhythm, the kneading goes quickly and my hands follow the dough across the board, flipping, flattening, folding, dusting with flour, then kneading some more in whatever direction seems natural. No two breadmakers knead exactly alike, and that’s okay. It’s the end result that counts.
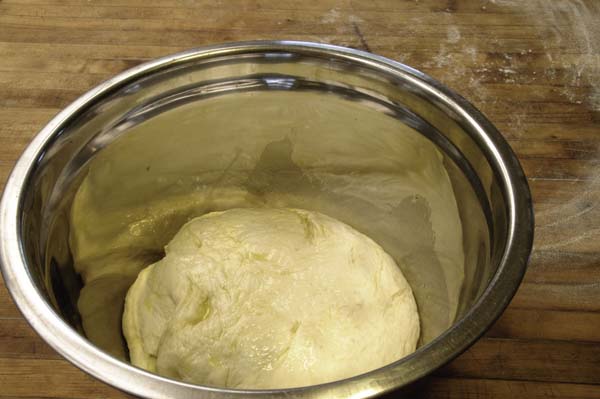
A good rule of thumb is to knead for ten minutes or until it’s done. How do you know when it’s done? The texture will seem smooth and well-blended. It’s okay for the dough to be a little bit tacky at the end of kneading, but not so sticky you need to scrape it off your hands. Form the dough into a ball, then put in a clean, greased bowl to rise until double.
I pour a little oil into the bottom of the bowl, spread it around the coat the surfaces the dough will touch, then add the dough. Then I flip the dough over so that the oily bottom side is on the top now. There’s enough oil left in the bottom to keep the dough from sticking as it rises, and the top is now oiled and protected from drying out.
It usually takes about an hour and a half for the dough to double in size. Actual rising time varies according to room temperature, weather, drafts, and so forth.
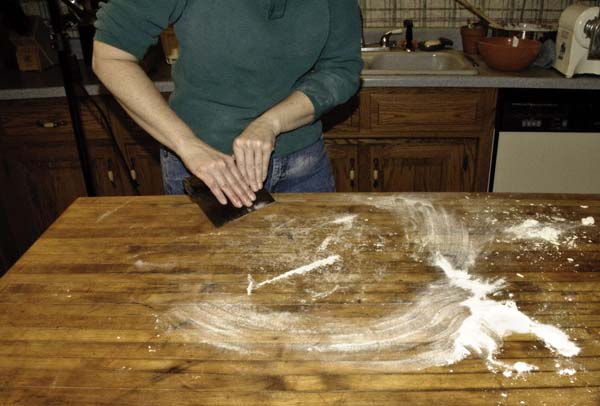
As soon as the dough’s in the bowl to rise, I clean up the kneading surface and tools. Those sticky bits that adhere to the kneading board dry fast, and then they’re a lot tougher to remove. I use a dough scraper first — and yes, it’s really called that. It’s a handy tool used in bakeries and commercial kitchens for cutting and maniuplating dough and for scraping dough off surfaces. The one I’m using in the picture came from a commercial bakery run by the Genius Husband’s grandfather. It’s sturdy steel with a solid wood handle, but it rusts easily if not properly cleaned and dried. I have another that’s stainless steel with a dishwasher safe handle, but it doesn’t fit my hand as well so I rarely use it.
Next: Basic Bread 101 – Part Two – The rest of the instructions and a recap of the recipe in printable form.



I had no idea the dough scraper came out of the bakery… well, maybe at one point I knew. It’s likely then at LEAST my great-great grandfathers. It could be older, there was a long line of bakers in the family and my grandfather was just the most recent. That is until he developed an allergic reaction to flour and they closed the bakery/restaurant. (In the 1950’s?)
Hey! How did you get in my house and take such great pictures of me making bread??? That’s my glass measuring cup and my wooden spoon and my jeans and my kitchen. Actually I don’t remember the grey sweatshirt. And I do look a few pounds thinner.
LOL, Pam! Comfy kitchen tools, comfy kitchen clothes — guess we all have them. The gray sweatshirt actually belongs to my daughter. We traded places halfway through.
Great – I didn’t even catch the change of clothes at first, had to go back & look. Waiting to see how the bread rises tomorrow!