There’s not much better than tender, meaty barbecued short ribs. It can take a lot of tending to cook them just right so they’re mouth-melting tender, moist, and with just the right level of smoky good taste. If you toss those meaty slabs straight on the grill, you’ll get tough meat. That’s because the meat itself is more like brisket, and it needs a long, slow cooking process. Long sessions in the smoker are time consuming, what with tending the fire, adjusting this and that, basting, spraying, and so forth. I don’t mind the tending when I have the time, but usually I don’t. So I cheat. I opt for the easy way out with the oven. The results aren’t as subtly complex in flavor as the well-tended smoker version, they’re pretty darned good. My oven method still takes a lot of time, but there’s very little hands-on time. That means you can get them started, then deal with the 258 other things on your to-do list that day.
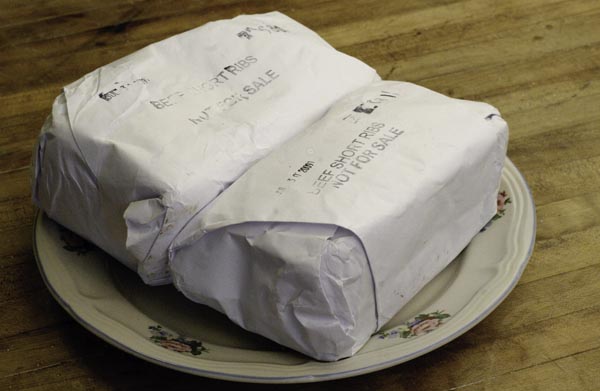
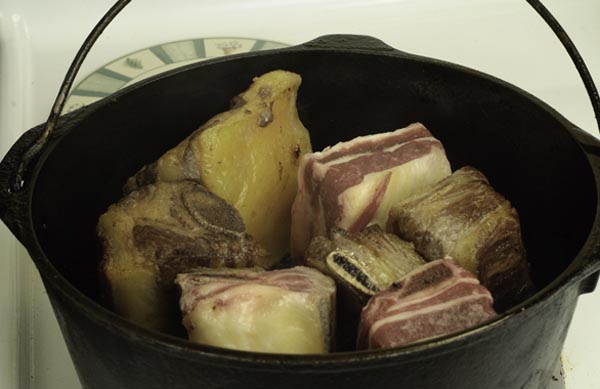
Begin with enough short ribs to feed however many people you have to feed. A good rule of thumb is about 2/3 pound to a full pound per person, depending on how meaty the short ribs are and how much those particular people like short ribs. Our short ribs come from the butcher in two-serving packages.
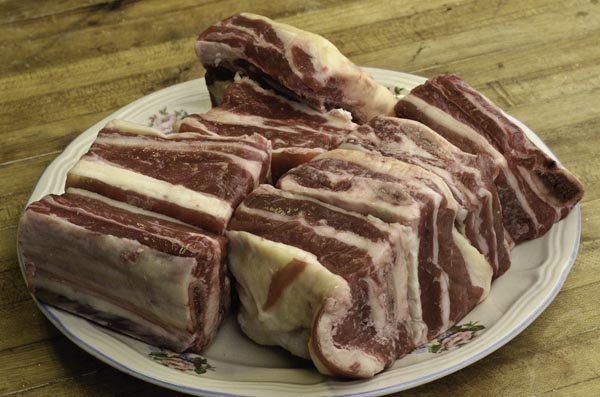
They’re more on the meaty side. This particular batch came from a grass-fed, 23-month-old Limosin x Jersey steer. A corn-finished steer probably would have more marbling fat, and the taste is subtly different.
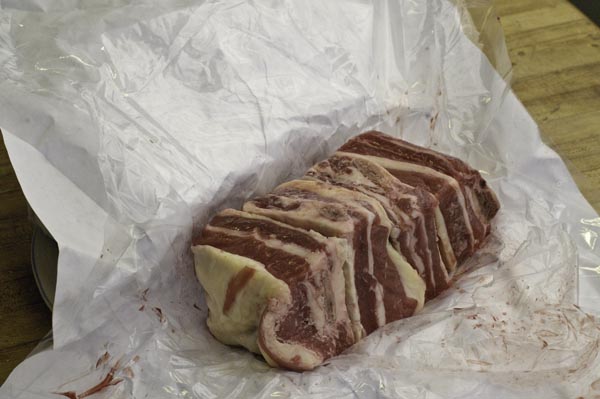
I like to make sure the ribs are completely thawed and that any blood is drained away. Some cooks like to pat the meat dry with a paper towel, since the meat browns better when its dry. (I have paper towel issues, so I don’t do that. But that’s a story for another day.) I usually find that letting the meat drain on a rack or in a collander for a few minutes does the job well enough. You can skip the browning, but I don’t recommend it. Searing the meat traps the juices inside, which improves flavor and tenderness.
Heat a generous amount of oil in a deep skillet or a dutch oven. A medium heat setting works best for me, and I prefer using butter or olive oil these days. Use lard, soy, canola, or plain vegetable oil if you’d rather. Peanut oil’s great for a really high heat that sears the meat very quickly, locking in the juices even faster.
I like at least an 1/8 inch layer, but not more than a quarter inch. Not sure when it’s hot enough? Sprinkle three or four drops of water into the pan. If the oil’s hot enough, the water will immediately sizzle and pop.
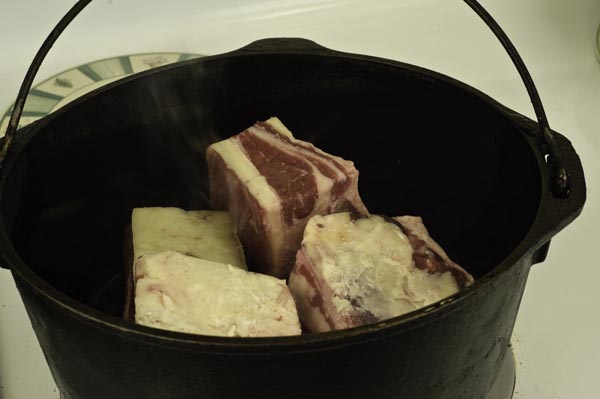
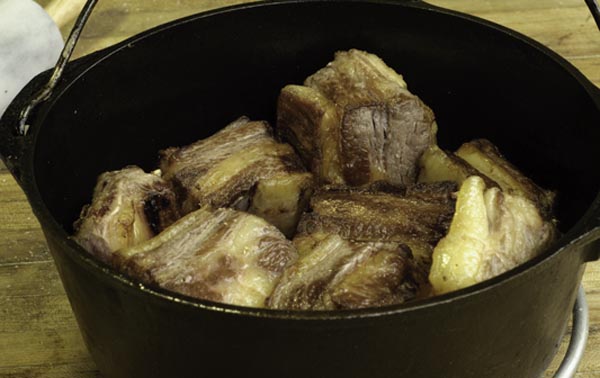
Carefully place short ribs in the pan. You might not be able to get them all in at once, but that’s okay. Four big chunks make a good start in my dutch oven, and I lay them out flat at first.
Turn as needed, until all sides are nicely browned. I add more ribs as there’s room. Sometimes I get them all in the pan eventually, sometimes not.
When all sides of all pieces have been nicely browned, remove the pan from the heat.
All of the short ribs fit into my dutch oven nicely this time. If yours don’t, you’ll need to switch to a bigger pan now because they all need to go into the oven together. At this point, I like to add up to two inches of beef broth to the pan. I’m comfortable with less if I know the pan lid fits well and doesn’t leak too much steam. Water’s fine. It’ll do the job of keeping the meat from drying out too much. I think broth makes the flavor a bit better, and since I’m already using an easy cheat method, I like to compensate where I can.
Cook in a slow oven for several hours – about 200 degrees F is fine, though you can go higher to speed things up a bit, if you must. Anything over 300 degrees is too high. Remember, we need slow heat for maximum tenderness.
The actual cooking time depends on oven temperature, how tender or tough those ribs are, and how much you crammed into the pan. I wish I could give you a definite time, but this is one of situations where you just have to accept that precision doesn’t exist. Figure on a few hours. Check the ribs every half hour or so. Make sure there’s still enough liquid in the bottom of the pan. Check to see whether the meat’s pulling away from the bone yet.
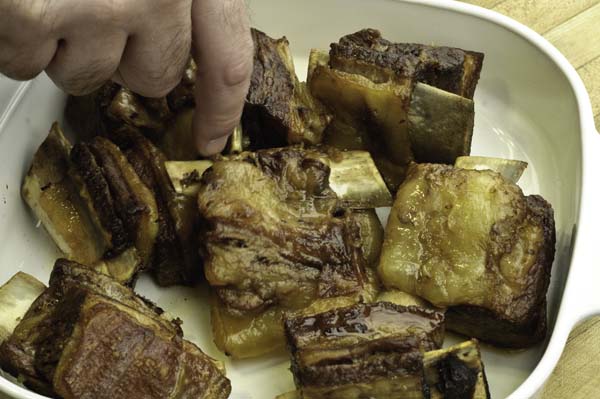
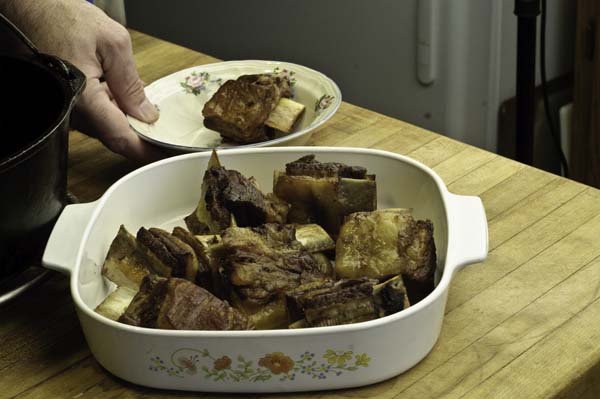
When the meat’s tender and sufficiently cooked, it’ll look like this. And some person who just can’t wait will probably swipe a piece and claim a taste test is necessary. At this point, you need to either drain the liquid from the cooking pan completely or move the meat to another dish for the final stage of cooking. You also have to decide whether to slap away the greedy fingers or give in to the inevitable.
Save the cooking liquid. You can use anytime a recipe calls for broth. Mine usually goes into soup or becomes the cooking liquid for rice. (Chill overnight to solidify the fats, then remove. Or not. Your choice.)
We had extra ribs so I didn’t complain too much when the Genius Husband swiped his piece, which he then sampled and proclaimed ready for the sauce.
You can finish your ribs on a grill if you like, but that does involve tending. On cheat days, I finish my ribs in the oven. I know that’s practically sacreligious to serious barbecue afficiandos. I understand, and if you’ll come over and trim the goat’s hooves, then take the dog to the vet to have his predator battle wounds stitched up, then finish cleaning the barn . . . well, I’d be happy to barbecue my short ribs properly and serve you some with salad and baked sweet potato.
No? Okay, well, moving on. Take a good look at those cooked ribs. See how the bones look now, sitting among the meat. You could grab any one and pull it free with hardly any effort at all. That’s how your ribs should look right before the sauce goes on.
We all have our favorite sauces. I’m particularly fond of K.C. Masterpiece style barbecue sauce, but I use others from time to time, just for variety.
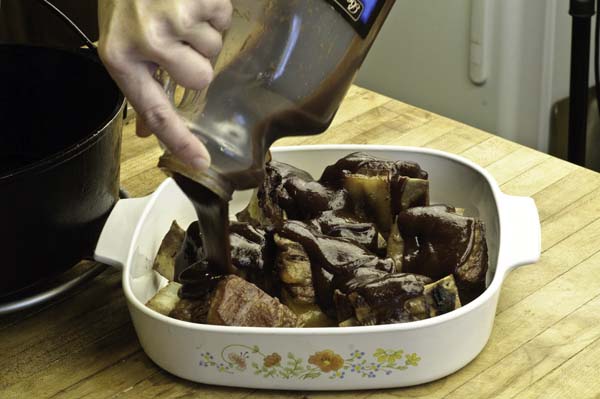
Pick your favorite sauce and liberally pour it over your ribs. Cover and bake at 200 to 225 degrees for another hour or so. Serve with your favorite side dishes. We had ours with a salad and baked sweet potatoes, which we season the same as regular potatoes — butter, sour cream, or ranch dressing.
I’d show you a picture, but I apparently was so overcome with hunger that I forgot to take one. I’ll try to do better next time.




Good dispatch and this enter helped me alot in my college assignement. Gratefulness you for your information.
What a great resource!
Great blog, saved your site for hopes to see more!
Great recipe.. I always wondered how to do these beef ones. And they are pretty cheap to buy too! Thanks.
Thanks very much for writing this great info! I am looking forward to checking out more blogs!
This really looks like simple task. Even I will be able to make them!
I just found your website and love that you are using the home raised beef. We raise extra calves on our Guernsey cow and have her steer in the freezer but he is pretty darn tough so I’m looking for ways to flavor and tenderize all cuts. I may grain feed the next moo.
Connie – Slow, slow moist cooking, mix and match the sauces, herbs, and spices. That’s what I do with tougher meats, and it’s great even for old roosters. I’m told that longer hang times in the butcher’s cooler means more tender meat, too, but haven’t tested that. Ours seems pretty locked in to the 10-day hang time.