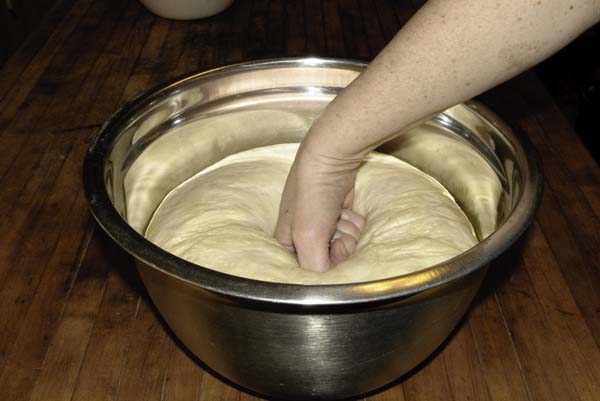
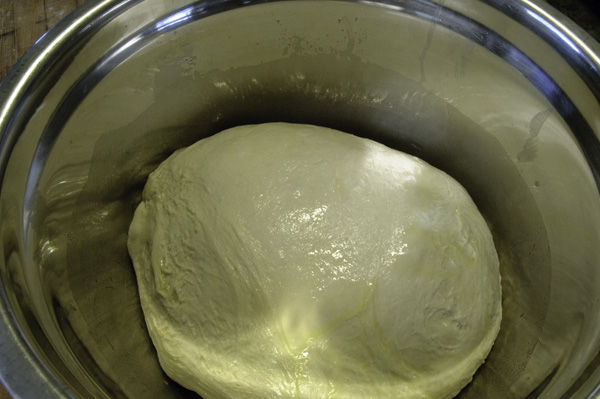
Part One of Basic Bread 101 ended with the bread dough rising in a well-oiled bowl. An hour and a half later, the dough has doubled, and it’s time to punch it down. I start with a nice punch to the center, then allow the air to escape on its own for a minute or two. After that, I like to lift out the dough and knead it for a minute or two, just long enough to work the rest of the air pockets out of the dough. Then I shape the dough into a ball again, make sure the bowl is oiled, drop in the dough, and turn it over.
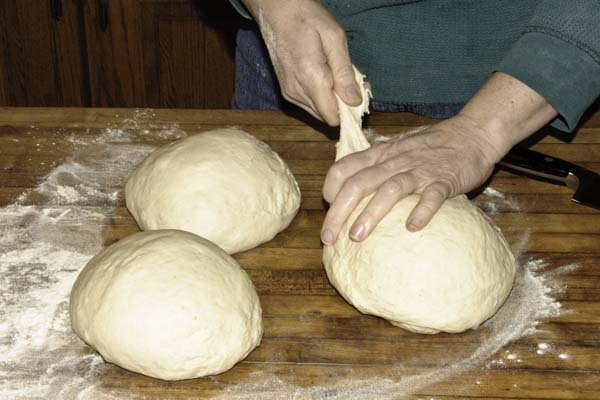
The gluten in this batch of dough has developed nicely. The proof is subtle – look for long, stretchy strands that leave lines across the surface as the dough kneaded and shaped.
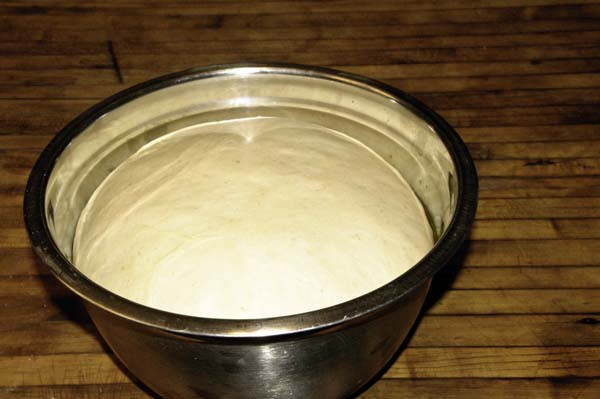
Let the dough rise until doubled a second time. The second rise is usually faster, about 45 minutes.
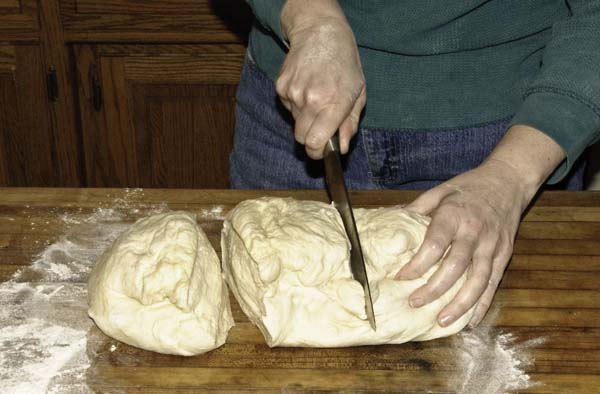
Above, the dough is well past doubled because I got busy and didn’t check it soon enough. Not a problem. Just punch it down again, knead a few minutes, then shape into fat log shape.
Cut the log of dough into three equal portions.
A pinch of dough stolen from a larger ball of dough is easily kneaded into a smaller one. You can weigh the three dough sections on a kitchen scale when you’re dividing or just estimate. There’s no penalty for bad estimates. However, equally sized loaves will finish baking around the same time, and that’s convenient.
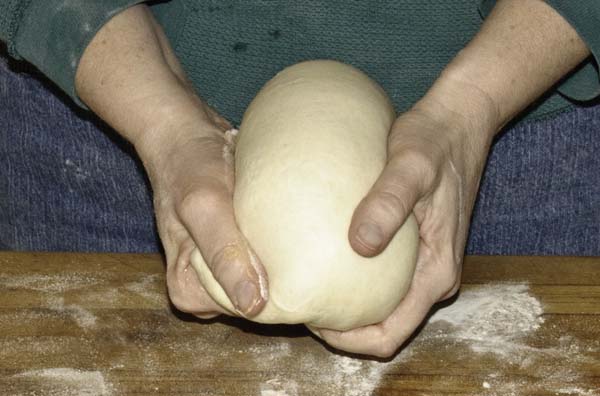
Shape each section into a loaf. Doesn’t the loaf above look lovely and smooth?
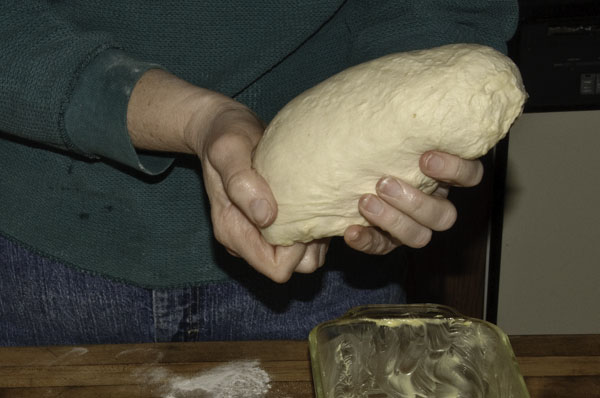
Here it is from a slightly different angle in different lighting. The top isn’t perfect, but it’s good enough.
Place dough in a well-greased loaf pan. I prefer glass pans so I can check the bottom and make sure it’s finished and that the loaf is evenly browned. Some bakers prefer the crisper crust texture that comes from baking in heavy metal pans.
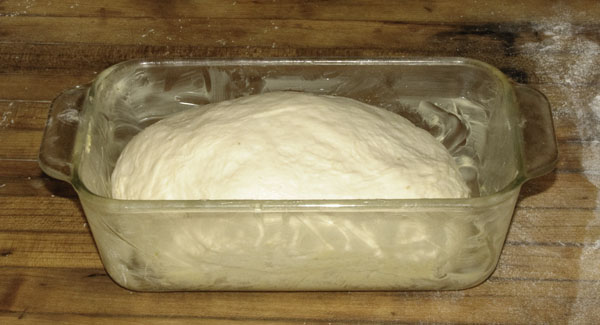
Place the bread pans in a warm spot and let rise until doubled, usually about an hour. I like to either oil the top with a light coat of olive oil or spritz with water to keep the top from drying out. You don’t need to do either. I just like the type of crust I get when I use that method. Some recipes recommend covering with plastic wrap or a damp cloth. Usually this works fine, but now and then the dough sticks to the cover, and it’s difficult to remove without at least some collapse in the loaf.
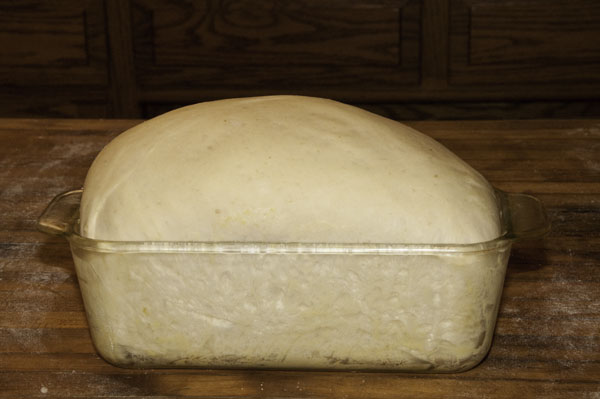
This dough is well past the double point. On warm sunny days, the dough can rise much faster than expected, and that’s what happened this time. It’ll still bake up nicely and make a lovely, light loaf.
Bake at 400 degrees for 35 to 40 minutes — or until done. Isn’t that a helpful phrase? Until it’s done.
This is what done looks like. A hot loaf, fresh out of the oven, can be tipped out of the pan and the bottom tapped. It should sound a bit hollow. If the sides of a hot loaf immediately sink in, chances are it isn’t finished.
A more reliable measure of ‘done’ is a thermometer. I managed just fine for many years without one, so don’t let the lack of the right thermometer stop you from learning to make bread. I use a thermometer now because I’m particular about getting it just right — not underdone, not overdone. (I get cranky when I don’t get the bread right.) I prefer the quick read probe thermometers with the narrowest shaft possible. I aim for an internal temperature measured at about the center of the loaf of 198 to 200 degrees F. My current ‘bread thermometer’ cost around $25, and I use it for meats, too. The one I really like is priced over $80, and I just can’t justify spending that now just to verify that my bread’s at the right stage when I’ve been doing a decent job of estimating doneness for most of my adult life.
Here’s a closer look at the texture of that loaf. It’s light, tender, and the slices hold together well without crumbling. It would have had a lightly denser texture that’s better for sandwiches if it had only been allowed to double on the last rise. The lighter texture is perfect for warm snacks, though, preferably slathered with butter and perhaps a bit of jam.
That’s the best part about homemade bread. It doesn’t have to be perfect to taste good.
Here’s the tidy version of the recipe:
MOM’S WHITE BREAD
The ingredients:
3 1/2 cups water
1/4 cup sugar
1/4 cup shortening
1 tablespoon salt *
2 packages dry yeast or 4 teaspoons bulk yeast
1/2 cup warm water
9 1/2 to 10 cups flour
* Cut back to 1 teaspoon if you’re watching your salt intake
** The original recipe states ‘2 packages dry yeast’. You can use instant yeast or whatever packaged yeast is available to you. I buy yeast in bulk and usually toss in a heaped tablespoon of yeast for a ‘2 packages dry yeast’ recipe.
1. Combine salt, shortening, and sugar in 3 1/2 cups warm water.
2. Dissolve yeast in 1/2 cup warm water in a separate container.
3. Stir in 4 cups flour into the mixture from Step 1 and mix well.
4. Add the dissolved yeast solution to the flour mixture. Mix well.
5. Add the remaining flour a cup or two at a time, mixing well after each addition, until the dough is stiff and hard to beat.
6. Turn out onto a well-floured surface and knead.
7. Place in greased bowl and let rise until double, about 1 1/2 hours.
8. Punch down and let rise again until double, about 45 minutes.
9. Divide into three loaves and place in well-greased loaf pans.
10. Let rise until double, about 1 hour.
11. Bake at 400 degrees F until done, about 35-40 minutes.

